Table of Contents
In this post we will explain how to import a customers database to Google Sheets and then send emails in bulk to our customers using a third party add on. We will show the difference between importing the database using Sync2Sheets and doing it with the export option from Notion.
Template

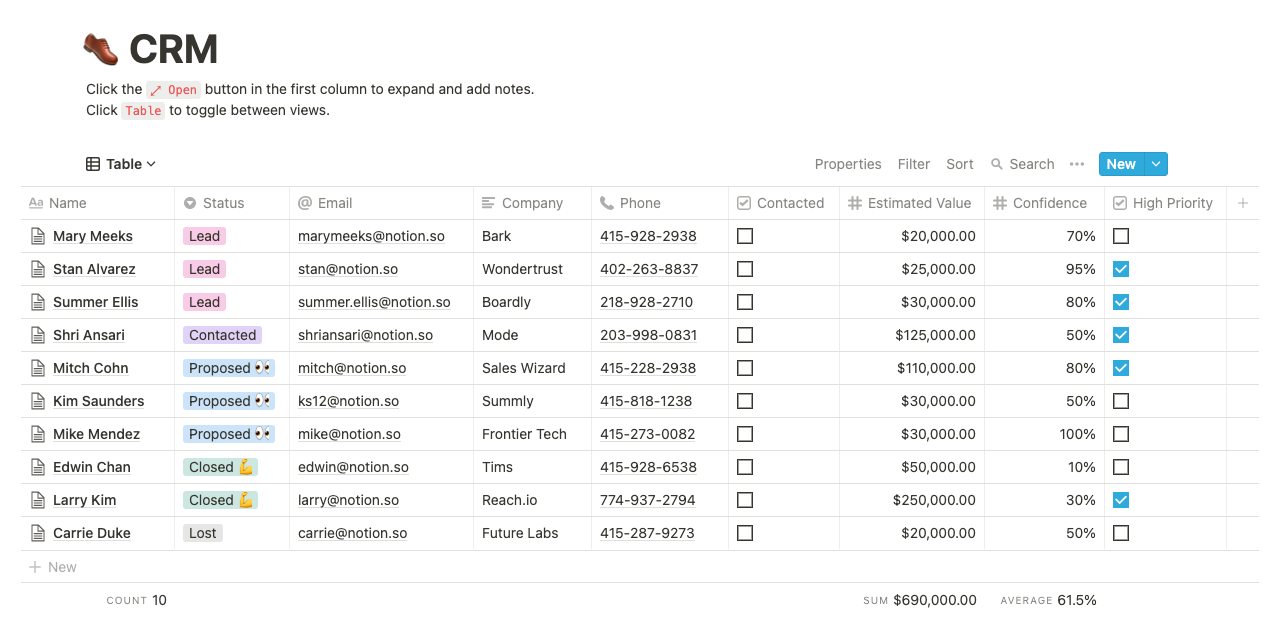
For this post, we will be using the Sales CRM template made by Notion, which includes a database with some dummy data that will be helpful for this tutorial. Go ahead and duplicate it in your account.
If you already have a customers or leads database then you can skip this step and use your own data if you want.
It is also worth to mention the Advanced CRM | Notion template by aNotioneer which includes also additional databases and relationships between them, if you are searching for a more advanced template you should definitely check it out.
Importing the database to Google Sheets
Now that we have our database ready, it is time to make it available in Google Sheets so we can send the emails. For this task we have two options.
- Using the Export Markdown & CSV option that it is accesible from the three dots menu in the Notion web app.
- Using Sync2Sheets Google Workspace Add-on, which will keep the database in sync as you make changes and it has a better formatting of the data trying to match Notion styles as much as possible. Using Sync2Sheets will also allow us to automatically mark in Notion which customers we have contacted already as we will showcase at the end of the post.
You can see the difference in the next images:


Sync2Sheets has 3 different plans that go from $13 to $49 depending on your needs. For in detail instructions on how to use it take a look at this 3 minutes YouTube video.
Once the database is in sync, we will move some columns around and hide others to match the order in Notion.
Take a look at this a deep guide comparing both two methods.
Installing a mail merge add on for sending the emails
The Google Workspace Marketplace is full of options regarding mail merge add ons. The name mail merge comes from the fact that we will be using Gmail drafts as templates for our emails, so we will be “merging” our draft with the data that we have from our customers in Google Sheets.

For this tutorial we will be using Mail Merge for Gmail that allows us to send 2k email per day for free but you can use other if you want, for example Mergo or Yet Another Mail Merge. As you can see by the name, there are plenty of options to choose from.
Using Mail Merge to send the emails
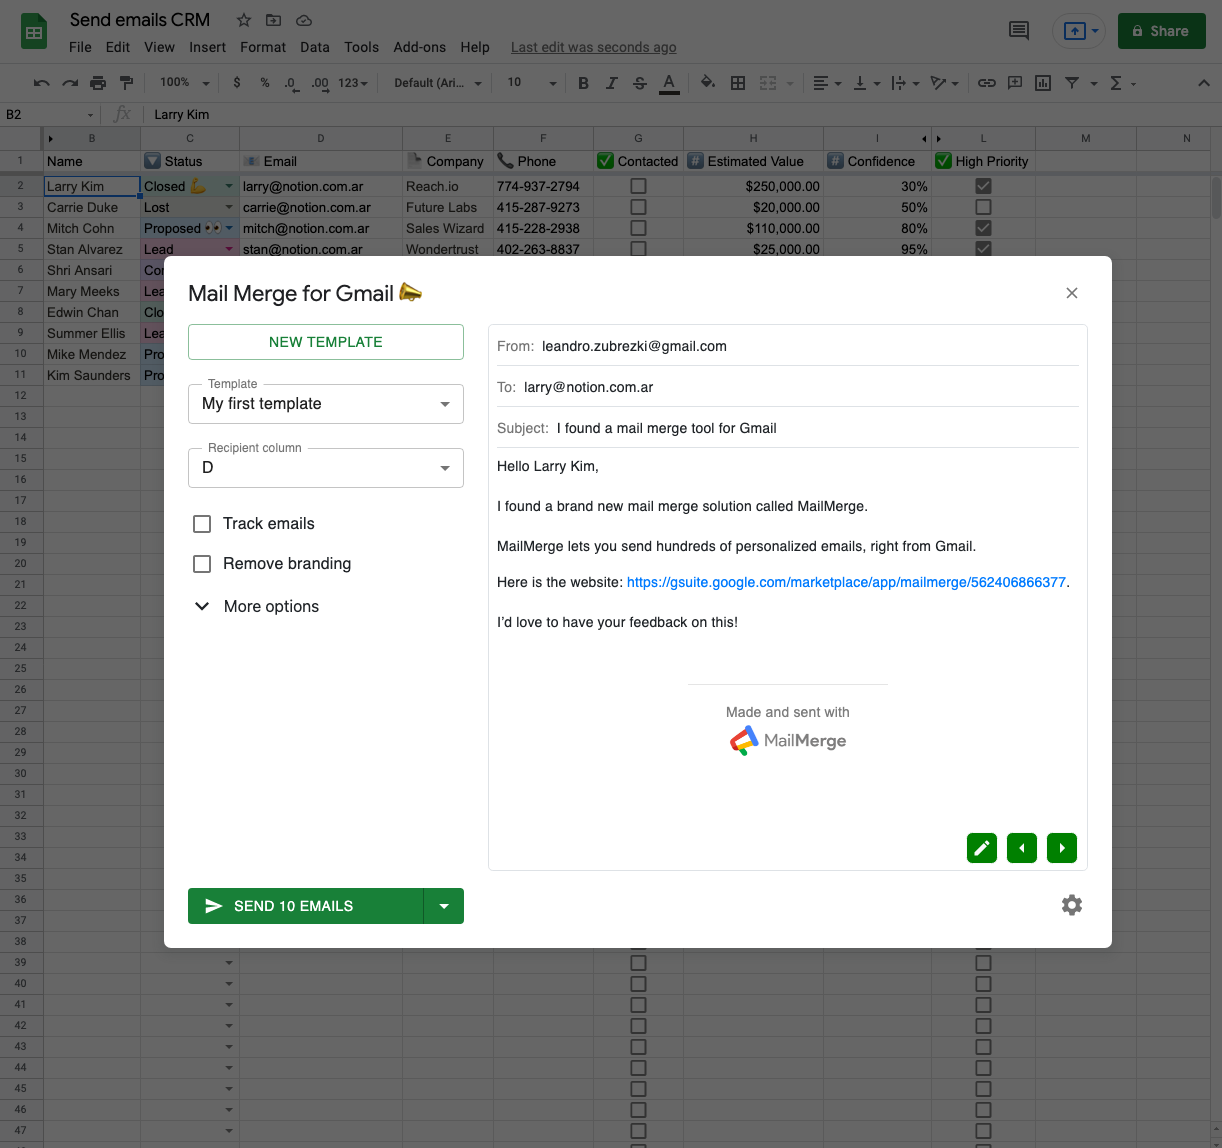
At this stage, you should have your list of customers in Google Sheets and the Mail Merge for Gmail add on installed. Go ahead and open it from the Add-ons menu in your spreadsheet and select Start to open it.
Mail Merge comes with a default template that you can use to test the tool, but first let’s make a small adjustment to our customers list. Rename 🔖 Name to just Name so we can use it to populate our template correctly. You should now see the name of the customer and its email in the draft.

You can now click SEND 10 EMAILS to send them, but don’t do it as we don’t want to spam Notion employees with invitations to install Mail Merge! You can test your template by clicking on the arrow button at the right of SEND EMAILS and select Receive a test email.
As we mentioned before, Mail Merge for Gmail is one of many options. We recommend you to take a look at the Marketplace and choose the one that better suits your needs. Some allow you to create campaigns, track opens and more.
Marking them as contacted and updating Notion
To mark all of our customers as contacted, we will use a Sync2Sheets feature called synced columns. Synced columns allows you to make a Sheets to Notion connection for a specific column, enabling the usage of sheets formulas and more to then update the Notion database automatically.
Conclusion
We saw two ways of importing a Notion database into Google Sheets, with the CSV export and Sync2Sheets. We reviewed different add ons to send emails and how to sync data back to Notion using synced columns. Synced columns is a powerful feature and we will be writing more about it soon 🙌.


